Banner Image

Scroll to review each hole

Explore our golf course
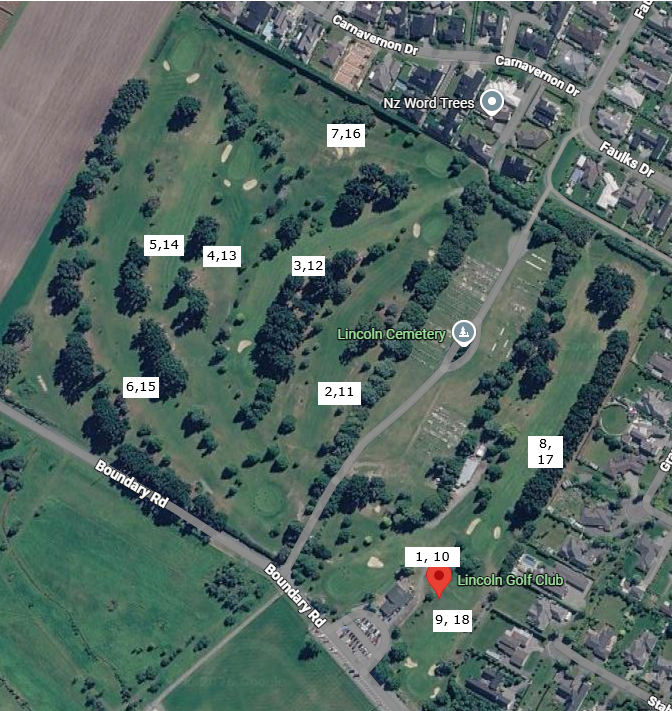
Overhead
View Details
Overhead
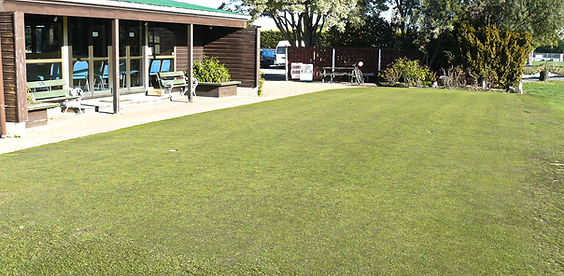
Practise Green
View Details
Practise Green
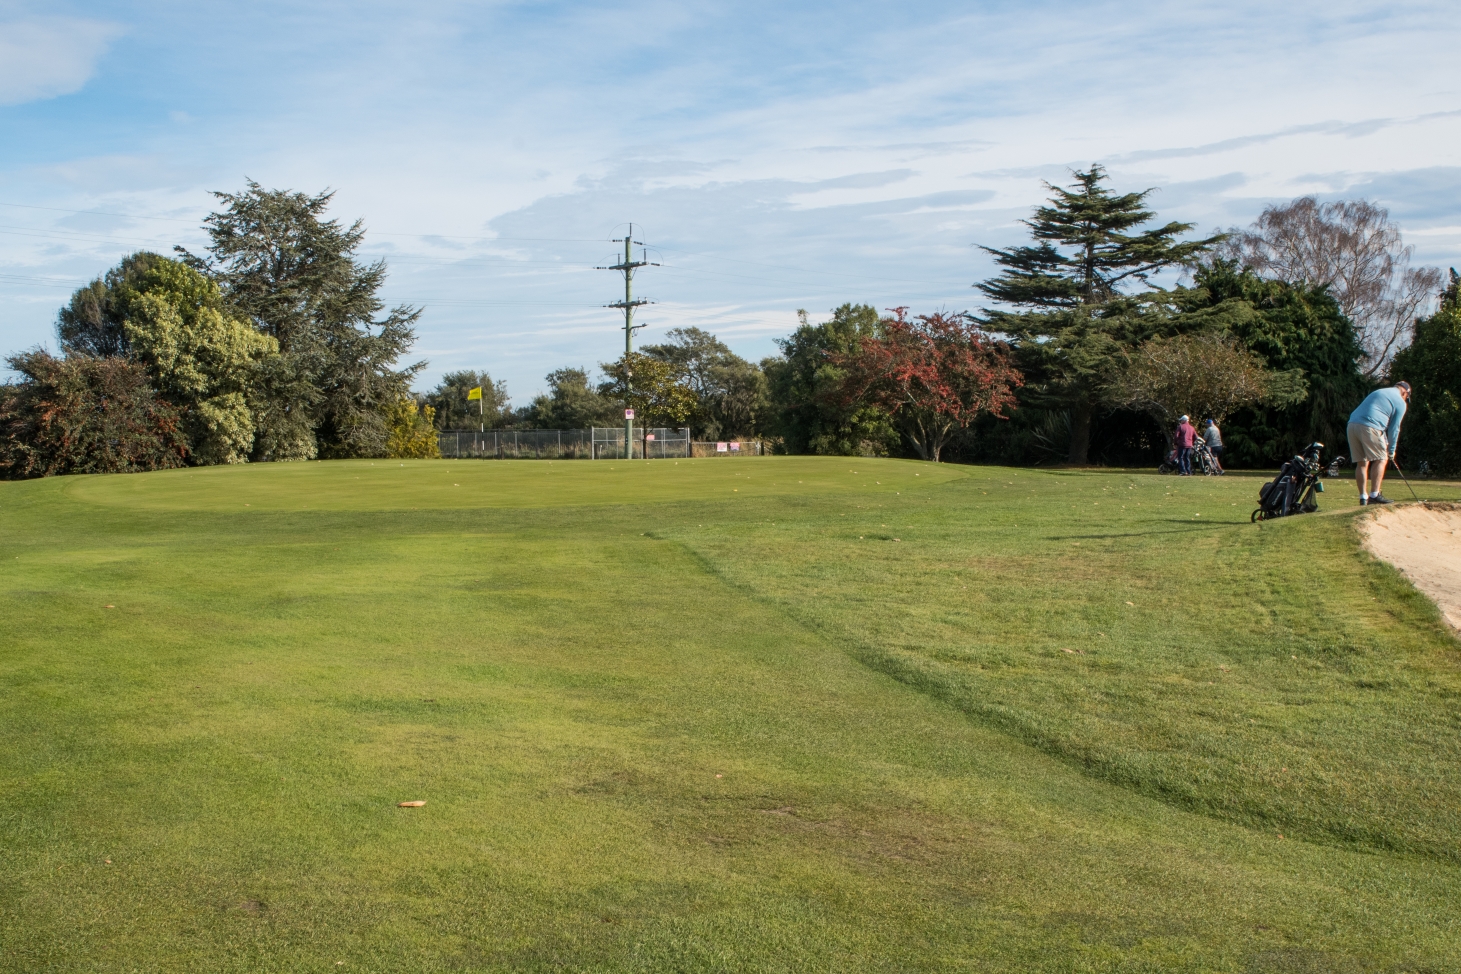
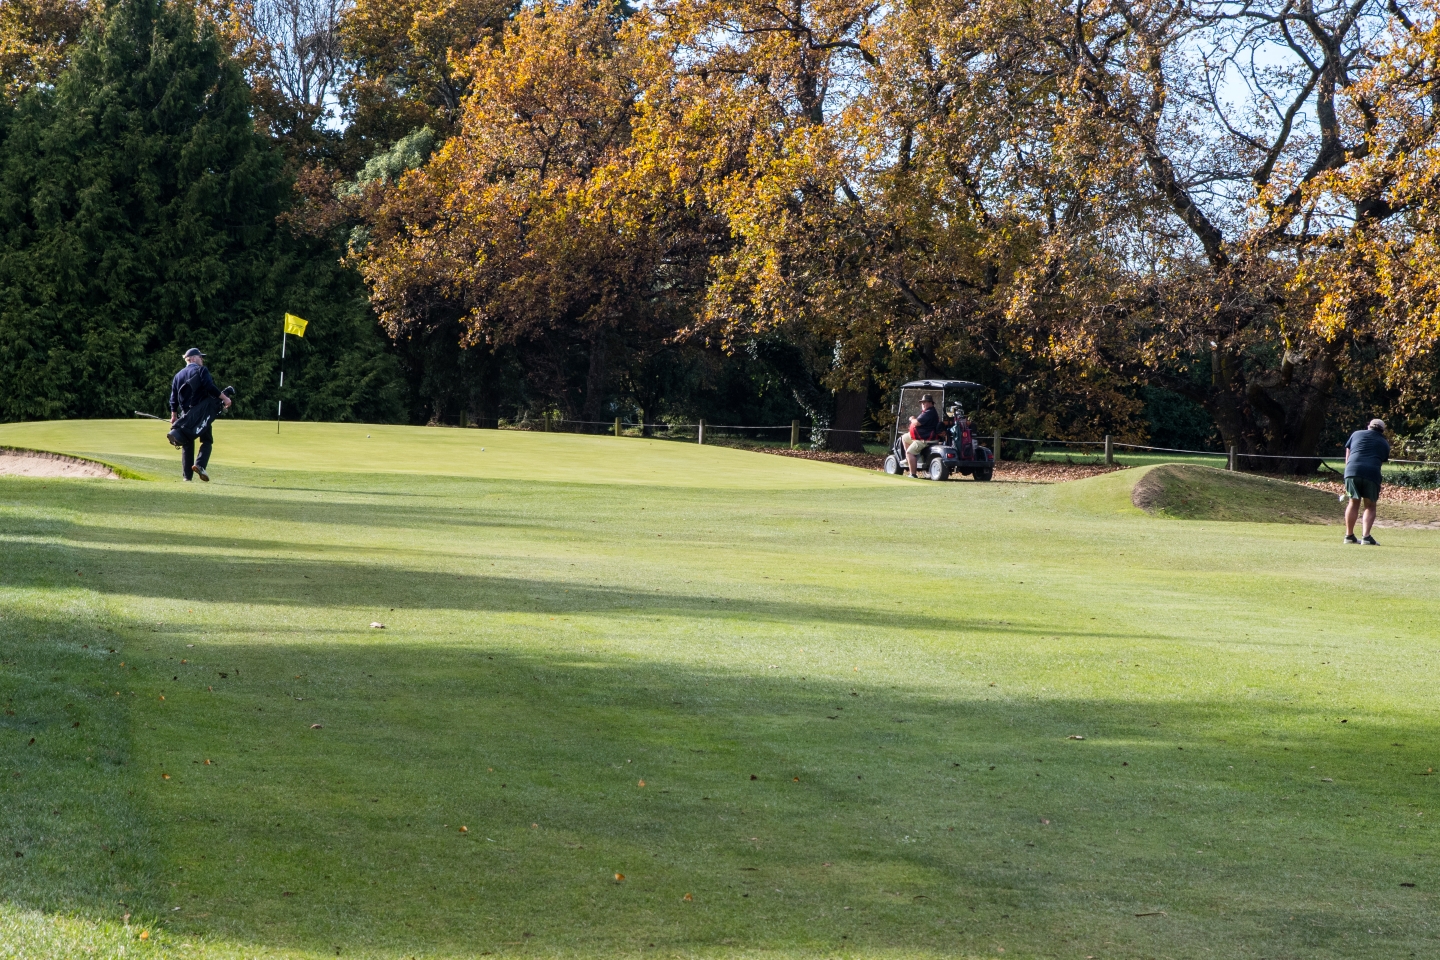
Green #1 & #10 - A comfortable start to the round with a large green. Beware the bunker short.
View Details
Green #1 & #10 - A comfortable start to the round with a large green. Beware the bunker short.
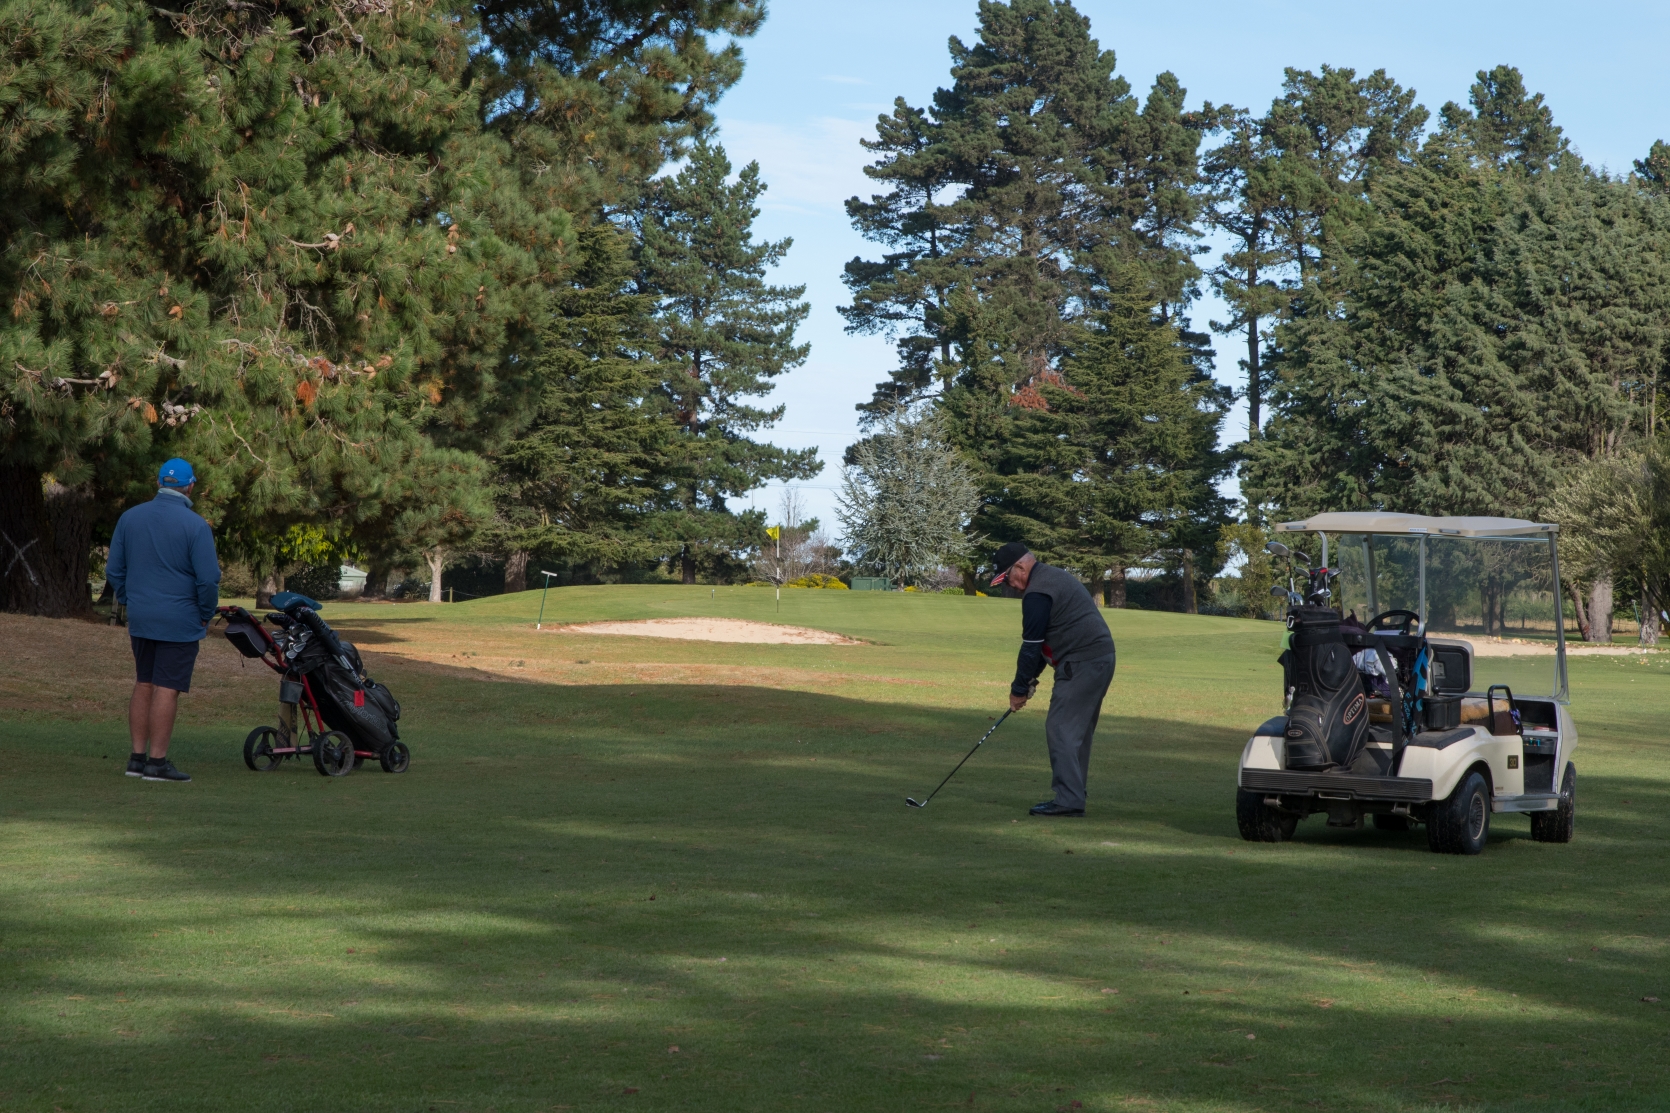
Green #2 & #11 - Slight dogleg right. OB on the right. Avoid the gum tree.
View Details
Green #2 & #11 - Slight dogleg right. OB on the right. Avoid the gum tree.
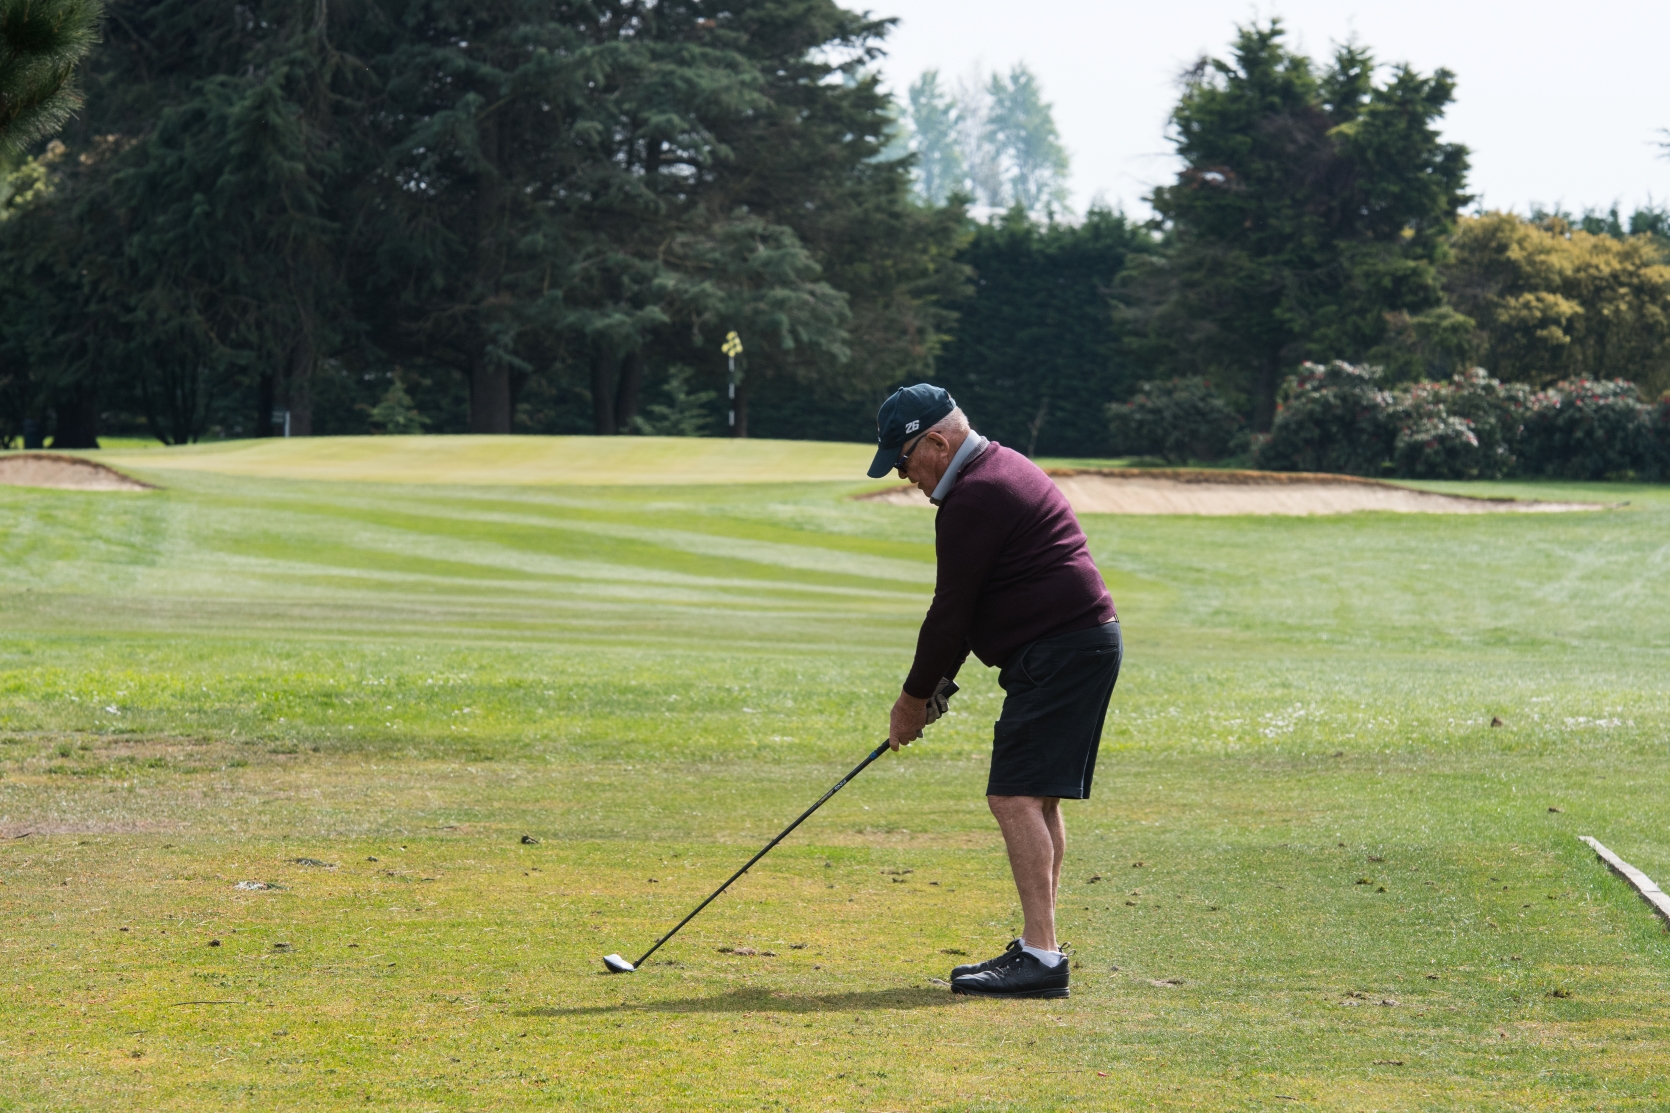
Green #3 & # 12 - Sharp dogleg left. Short club to sloping green. Bunkers left and right.
View Details
Green #3 & # 12 - Sharp dogleg left. Short club to sloping green. Bunkers left and right.
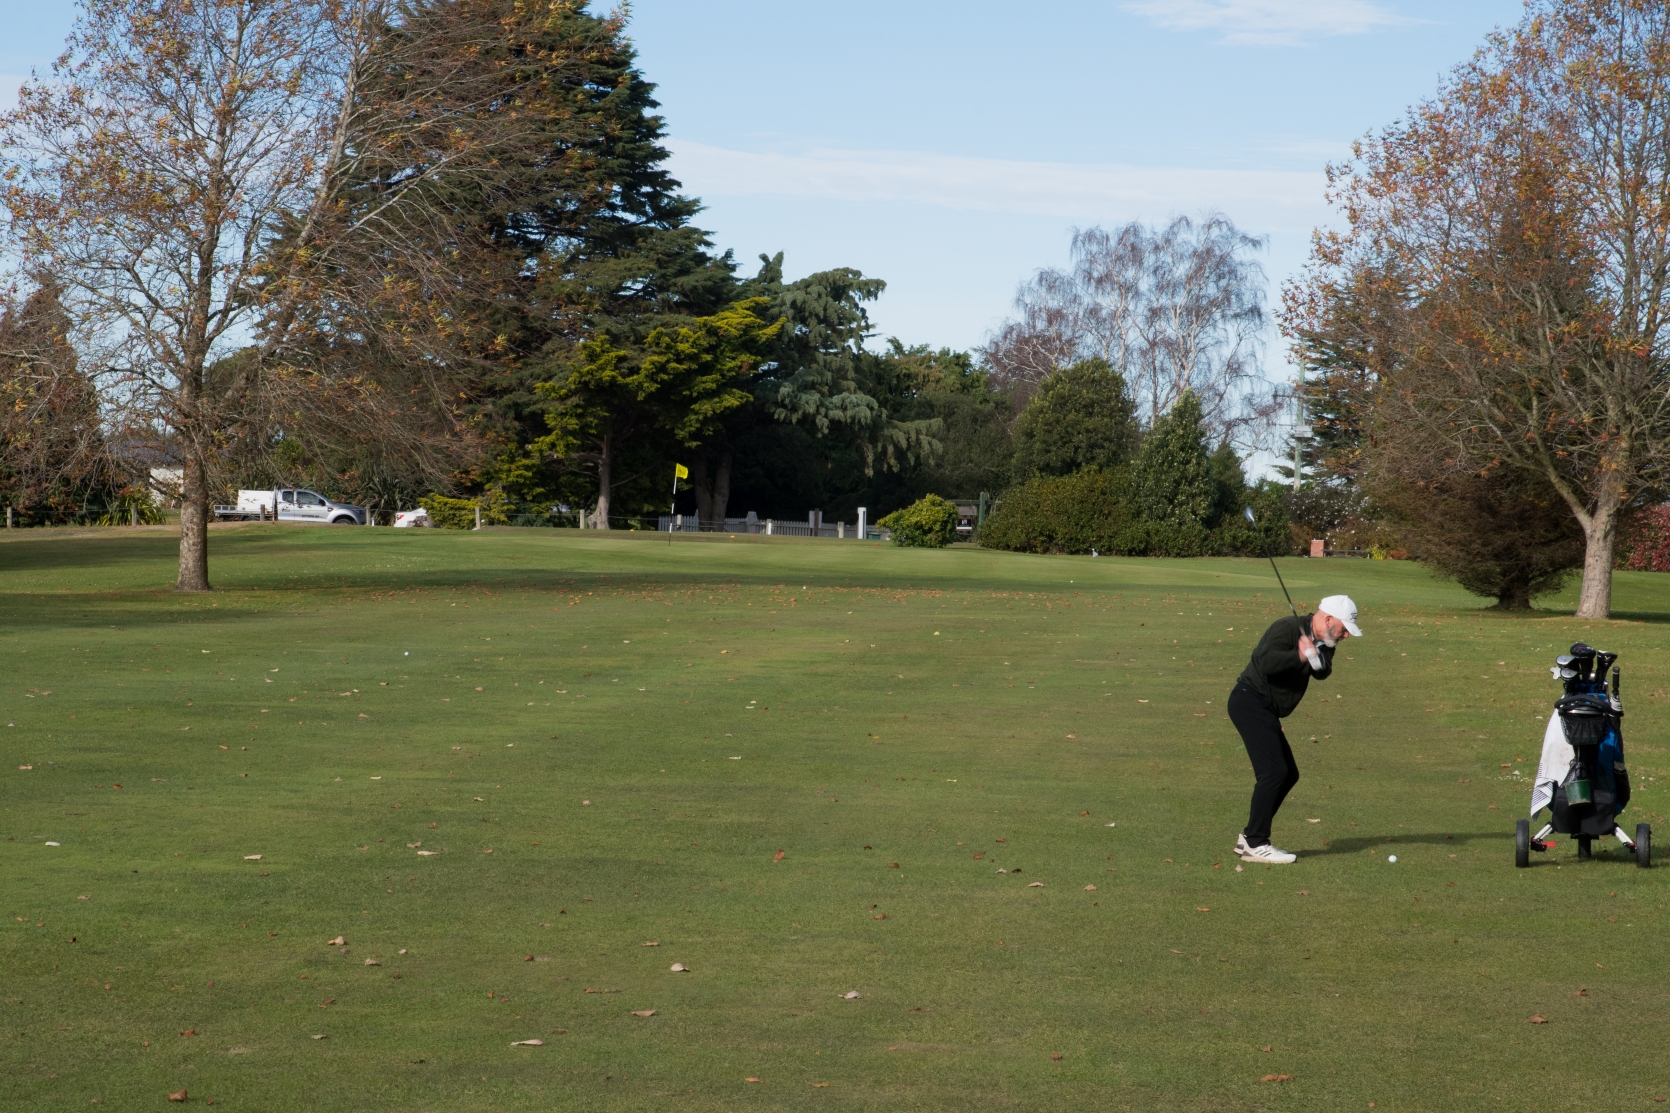
Green #4 & # 13 - Three bunkers guard this green. Watch the wind here.
View Details
Green #4 & # 13 - Three bunkers guard this green. Watch the wind here.
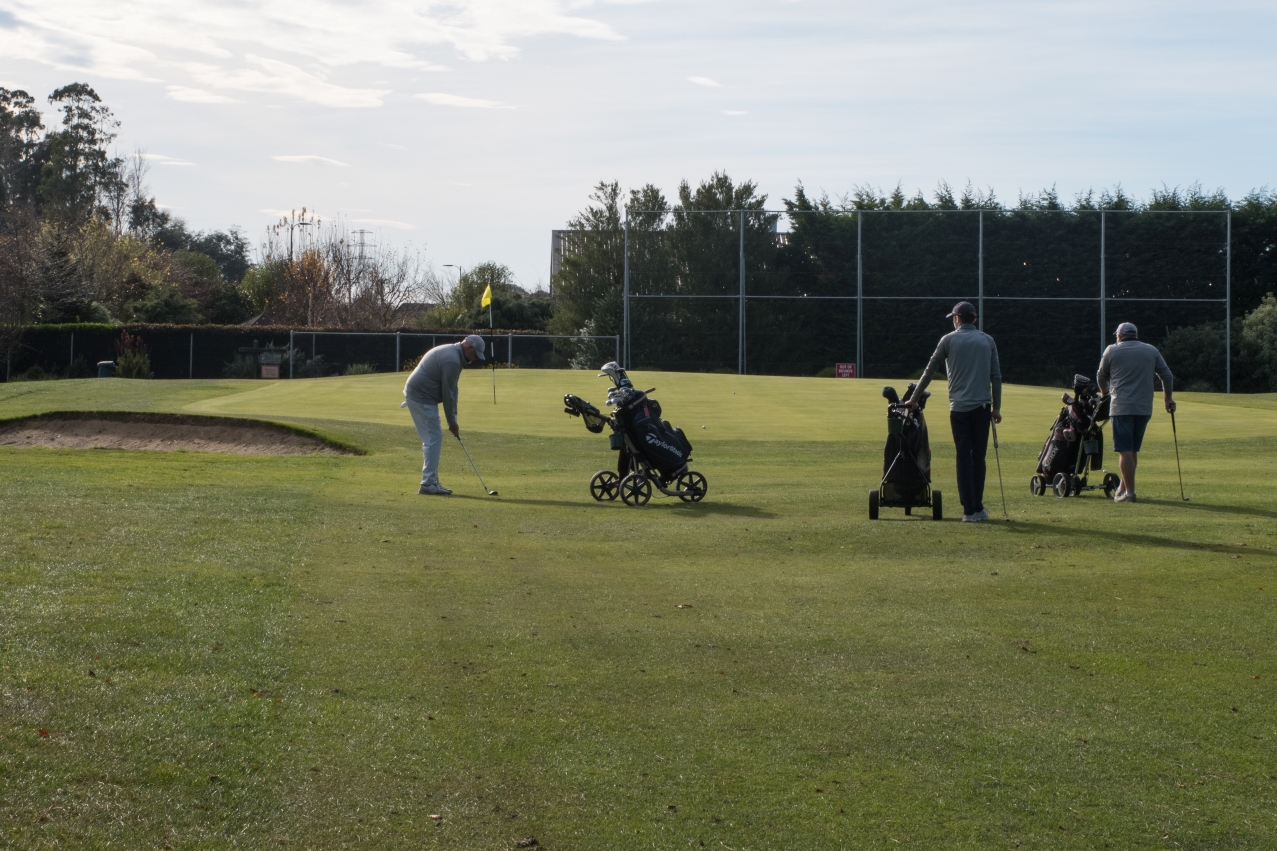
Green #5 & #14 - Hardest hole on the course. OB left. Make the corner if you can but don't go long.
View Details
Green #5 & #14 - Hardest hole on the course. OB left. Make the corner if you can but don't go long.
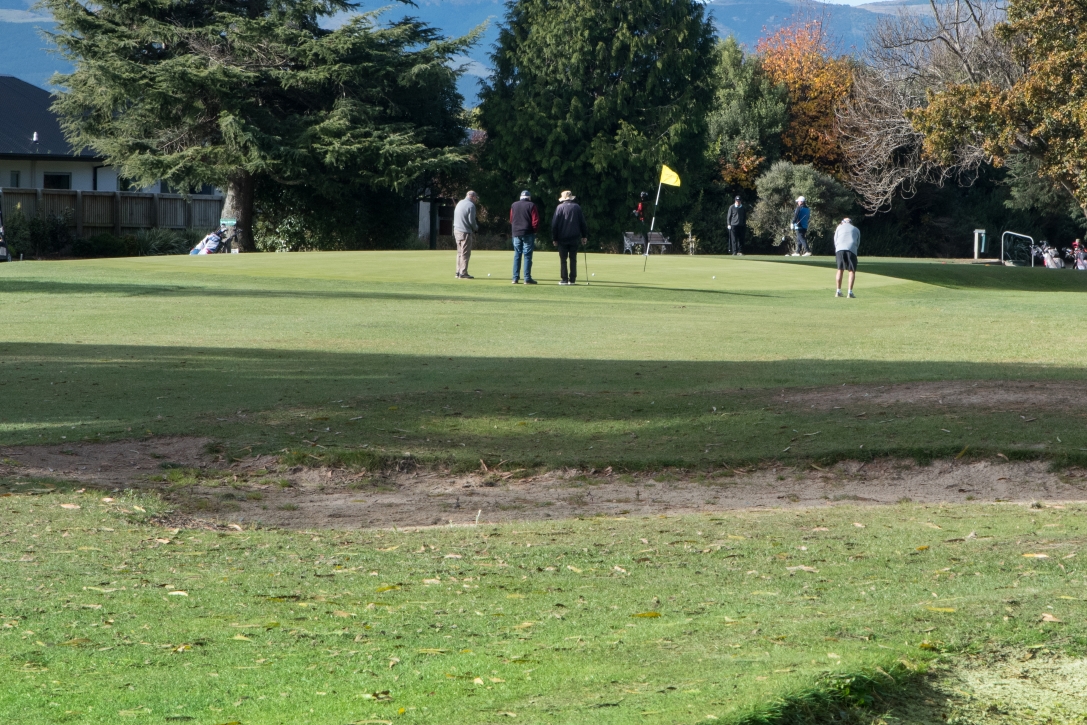
Green #6 & #15 - OB both left and right. Dogleg right with bunkers at both sides of the green.
View Details
Green #6 & #15 - OB both left and right. Dogleg right with bunkers at both sides of the green.
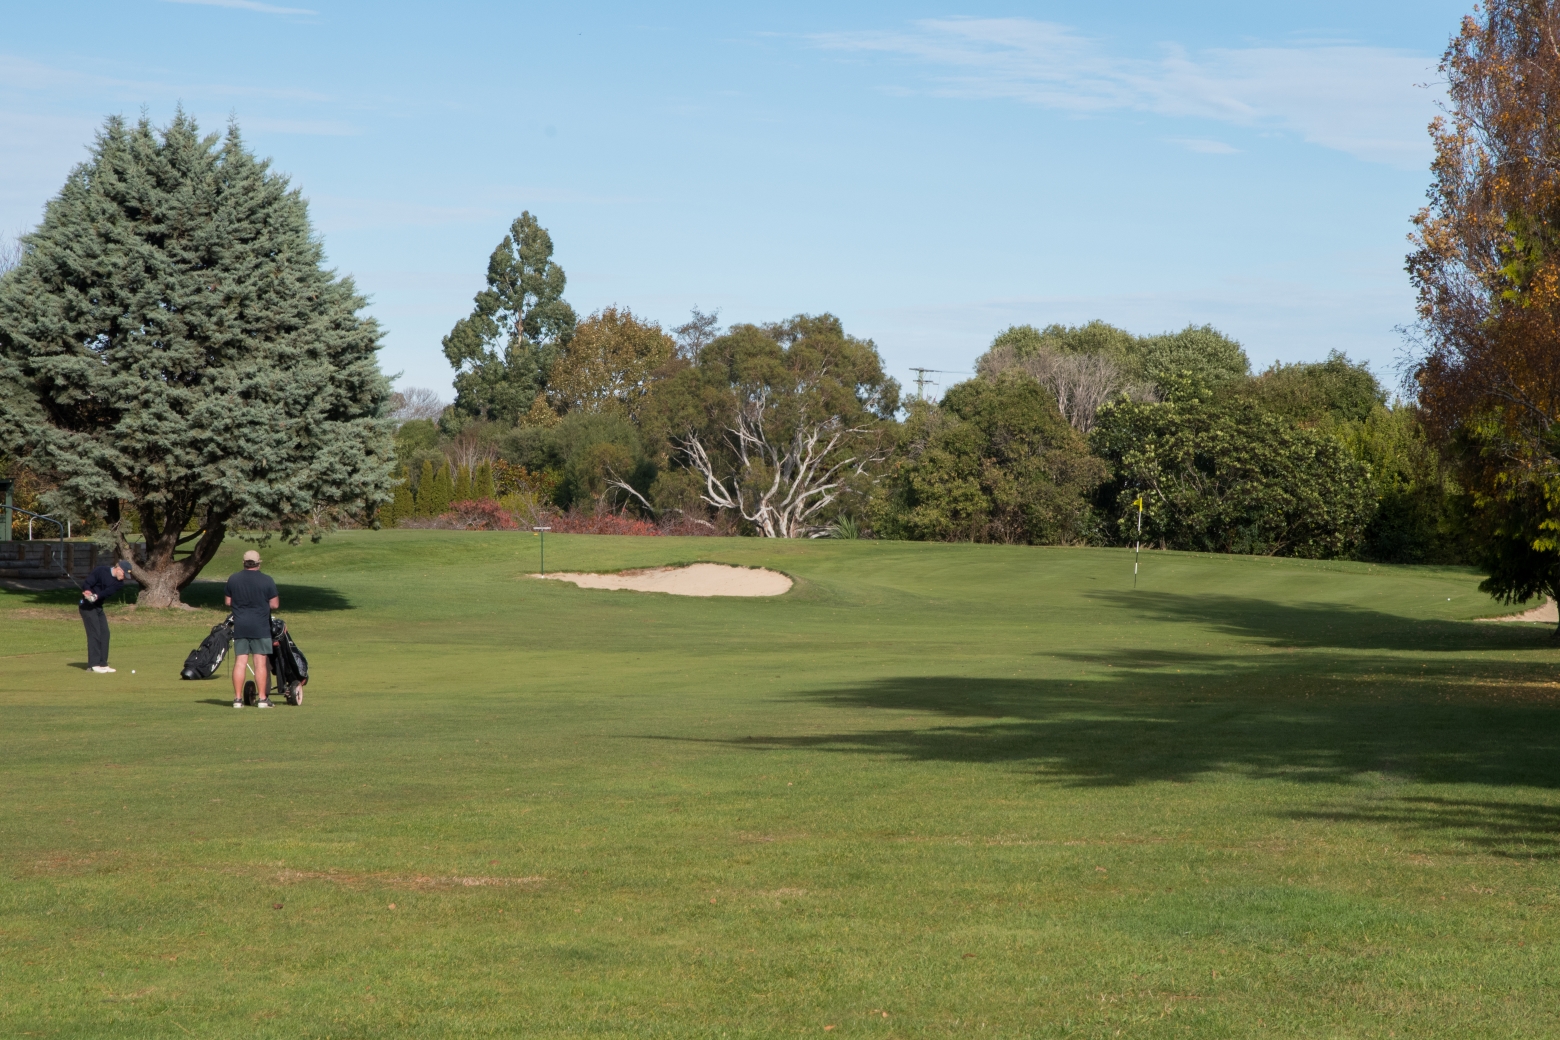
Green #7 & #16 - Fairway bunkers no real problem. OB left. Keep clear of the gum tree.
View Details
Green #7 & #16 - Fairway bunkers no real problem. OB left. Keep clear of the gum tree.
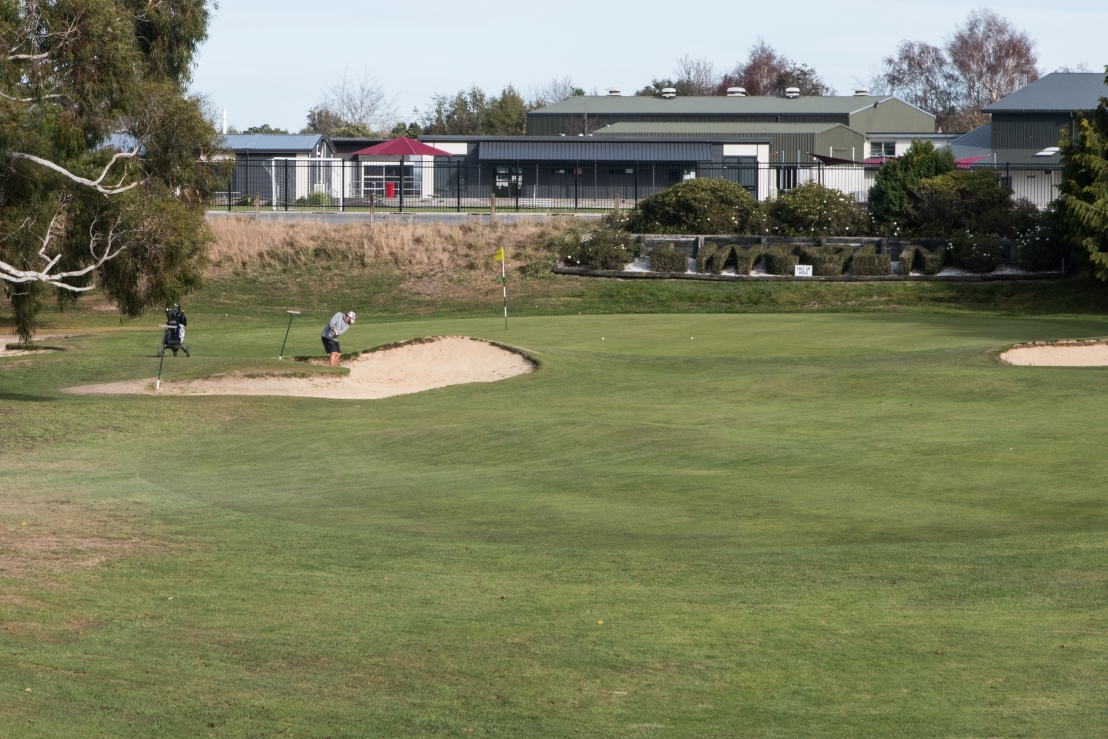
Green #8 & #17 - Straight shot, OB left and right. Back to front sloping green. Don't go long.
View Details
Green #8 & #17 - Straight shot, OB left and right. Back to front sloping green. Don't go long.
9/18 Good drop down to the green. Bunkers short and left. More wind than you think
View Details
9/18 Good drop down to the green. Bunkers short and left. More wind than you think